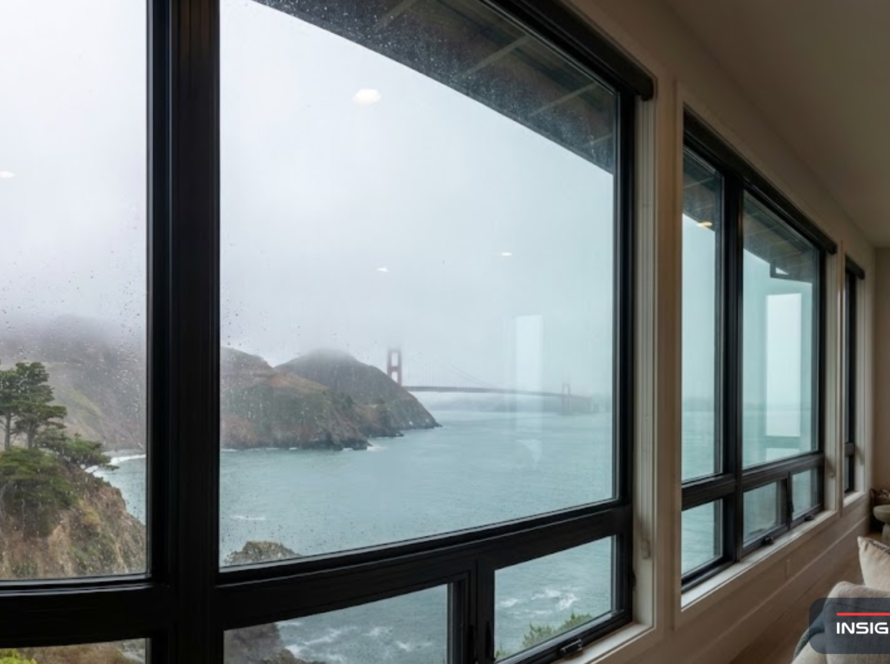
Whether you are replacing old windows or building a new home in the Bay Area, the quality of window framing affects everything from energy bills to curb appeal. Proper framing creates the foundation for windows that open smoothly, seal tightly, and hold up to coastal fog and seismic activity. This guide covers the structural opening, the interior trim that finishes it, and how the two work together.
A quick note on terms: “window framing” refers to the structural opening built into the wall (the studs, header, and sill that carry the load around the window). That is different from the window’s own frame, which Insight Glass supplies in vinyl, fiberglass, and aluminum.
Table of Contents
- What Window Framing Is and Why It Matters
- The Parts of a Window Frame
- Window Framing Diagram
- Standard Window Sizes and Rough Openings
- Interior Window Framing: Trim and Casing
- Types of Window Framing
- Window Frame Materials for Bay Area Homes
- How to Frame a Window, Step by Step
- Bay Area Framing Considerations
- Common Window Framing Mistakes
- When to Hire a Professional
- Frequently Asked Questions
- Get Expert Window Framing in the Bay Area
What Window Framing Is and Why It Matters
Window framing is the structural opening built into a wall to hold a window unit. The framed opening creates a stable base that transfers the building’s weight around the window while keeping weather out and letting light in. Bay Area homes face added pressures: moisture from marine air, strict seismic codes, and Title 24 (California’s building energy efficiency standards) all shape how windows should be framed and installed.
A properly framed opening serves four critical functions in your home:
Structural Support
The header carries the load from above and distributes it around the opening instead of onto the window.
Weather Barrier
The opening includes space for insulation and flashing that stops air and water from getting in.
Smooth Operation
A level, plumb opening lets the window open and close without binding or gaps.
Finish Connection
Drywall, trim, siding, and weatherproofing all attach to the framing around the window.
The Parts of a Window Frame
A few basic terms make it easier to plan a project or talk with your contractor:
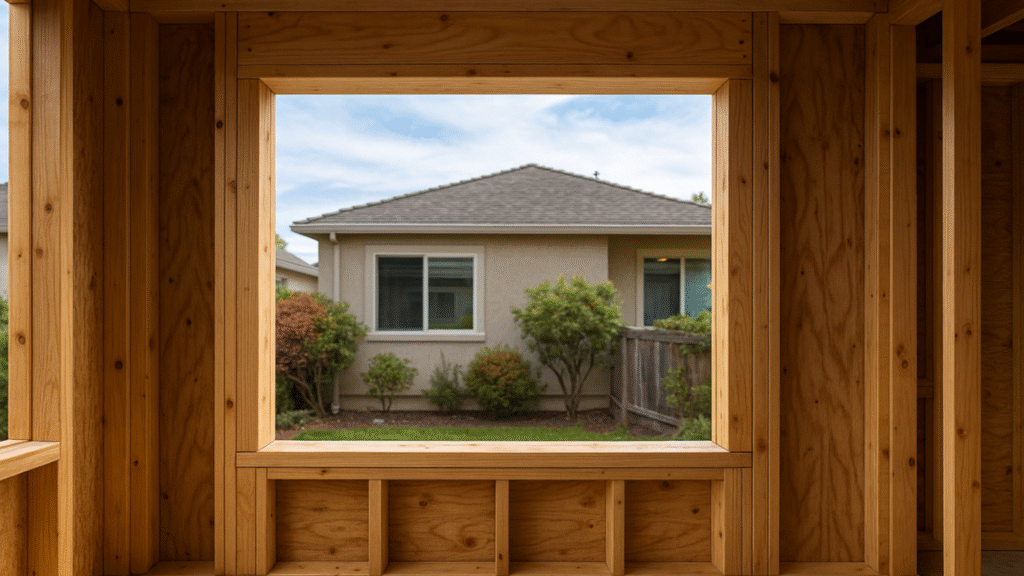
- Rough opening: the framed opening before the window goes in, sized slightly larger than the window unit.
- Header: the horizontal member spanning the top of the opening that supports the weight above.
- Jack studs (trimmers): the vertical supports on each side that carry the header’s weight down to the floor.
- King studs: the full-height studs running floor to ceiling on each side, which the jack studs attach to.
- Sill: the horizontal bottom of the opening, sloped slightly outward for drainage.
- Cripple studs: the short vertical pieces above the header and below the sill.
Window Framing Diagram
The diagram below shows how these components fit together around a standard rough opening. King studs run the full height on each side, jack studs sit inside them to hold the header, and cripple studs fill the space above the header and below the sill.
Standard window rough opening: king studs, jack studs, header, sill, and cripple studs.
Standard Window Sizes and Rough Openings
Most windows come in standard sizes that match common framing practices. Standard widths include 24, 30, 36, 48, 60, and 72 inches, and standard heights are typically 36, 48, 60, and 72 inches. Bay Area homeowners often choose larger windows to capture natural light and views, since our mild climate and love of indoor-outdoor living make bigger openings popular.
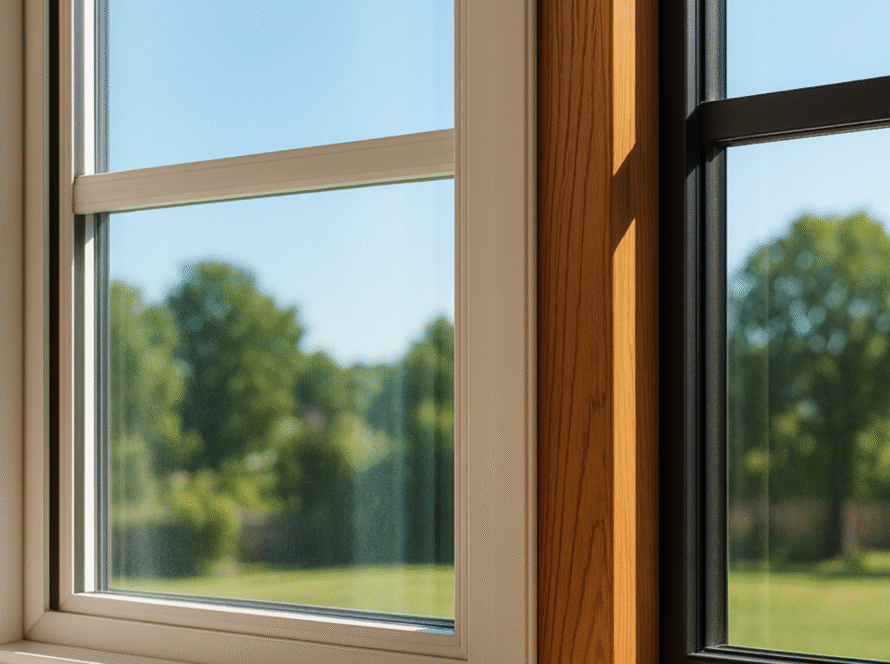
Interior Window Framing: Trim and Casing
Once the window is installed and the drywall is in place, the opening still needs to be finished on the inside. This interior framing is what you see every day, and it makes the difference between a clean, professional look and an unfinished one.
Jamb Extensions
Flat boards that bridge the gap between the window unit and the interior wall surface when the wall is thicker than the frame.
Stool
The interior ledge at the bottom of the window, sometimes called the interior sill, that gives you a small shelf inside.
Apron
The trim piece directly beneath the stool that covers the joint with the wall and adds a finished edge.
Casing
The decorative molding around the top and sides that covers the joint between the jamb extensions and the wall.
Clean interior trim also supports performance. Tight, well-fitted casing and jamb extensions help seal the gap around the window, which keeps drafts out and supports the energy efficiency of your new windows.
Not sure where your project stands? Insight Glass handles framing coordination, permits, and installation, and confirms it all in a single free in-home estimate.
Call 707-746-6571Types of Window Framing
New construction framing starts from scratch. You build the complete rough opening before installing the window, using nailing fins (thin flanges that extend from the window frame and attach to the wall sheathing). It works best for new builds and major remodels where the walls are open. See our guide to new construction window installation.
Retrofit framing works with the existing rough opening. You remove the old window but keep the original framing intact, which saves time and reduces damage to finished walls. Inspect the opening for moisture damage or framing that is out of square first. Learn more in our retrofit windows guide.
Load-bearing versus non-load-bearing. Load-bearing walls support the roof or upper floors and require properly sized headers and structural support. Non-load-bearing walls only support themselves, so header sizing is less strict. Bay Area seismic codes require specific fastening for both, and some projects need engineering approval.
Window Frame Materials for Bay Area Homes
The structural opening is one thing, but the window’s own frame is what you live with day to day. Insight Glass installs three frame materials, each suited to Bay Area conditions:
- Vinyl: low-maintenance, energy-efficient, and resistant to moisture. A popular choice for coastal and inland homes alike.
- Fiberglass: durable and dimensionally stable, with quality insulation and a refined look. An excellent option for homes near the coast.
- Aluminum: slim sightlines and high durability for larger openings and modern designs, often paired with a thermal break to improve efficiency.
We focus on vinyl, fiberglass, and aluminum because they hold up far better against marine air, fog, and inland heat, with very little upkeep. Compare options in our guide to window frame materials.
How to Frame a Window, Step by Step
Here is the basic sequence for framing a standard opening. Because headers and seismic connections must meet California code, most homeowners hire a professional for anything beyond a simple, non-load-bearing opening.
- Plan and measure. Set the window placement and size, check for plumbing, wiring, or ducts in the wall, and size the header for the span and the load above.
- Set the king studs. Install full-height king studs on each side of the planned opening.
- Install the header. Cut and place the header across the top, resting it on the jack studs you add next.
- Add jack studs and the sill. Attach jack studs from the sill to the bottom of the header, then set the sill at the proper height, typically about 3 feet above the floor.
- Add cripple studs. Place cripple studs above the header and below the sill, spaced to match your wall’s stud layout.
- Check plumb, level, and square. Confirm the studs are plumb, the header and sill are level, and the diagonals measure equal so the opening is square.
Bay Area Framing Considerations
Common Window Framing Mistakes
When to Hire a Professional
Complex projects benefit from professional expertise. Structural changes, multiple windows, or window replacement in load-bearing walls often require permits and engineering. Professional framing and installation ensure code compliance, proper weatherproofing, and warranty protection, and experienced installers spot potential issues before they become expensive problems.
Insight Glass has served Bay Area homeowners since 1987. The team handles permits, framing coordination, and flawless installation from start to finish across Oakland, San Jose, Walnut Creek, Fremont, and the wider Bay Area.
Frequently Asked Questions
Get Expert Window Framing in the Bay Area
Quality window framing creates the foundation for comfortable, efficient homes. The right rough opening size, correct header sizing, clean interior trim, and attention to structural support prevent problems down the road. Bay Area conditions demand careful attention to seismic requirements, Title 24 energy codes, and moisture management, so professional installation pays off for decades.
Since 1987, Insight Glass has provided top-quality windows and patio doors across the Bay Area, from San Francisco and Oakland to San Jose, Walnut Creek, and Napa. Request your free in-home estimate today.
Insight Glass, your Bay Area window experts since 1987.
Call 707-746-6571 for a Free Quote!
CONTACT US FOR A FREE ESTIMATE